Trust Hub

Access Trust Hub & Configure General Settings

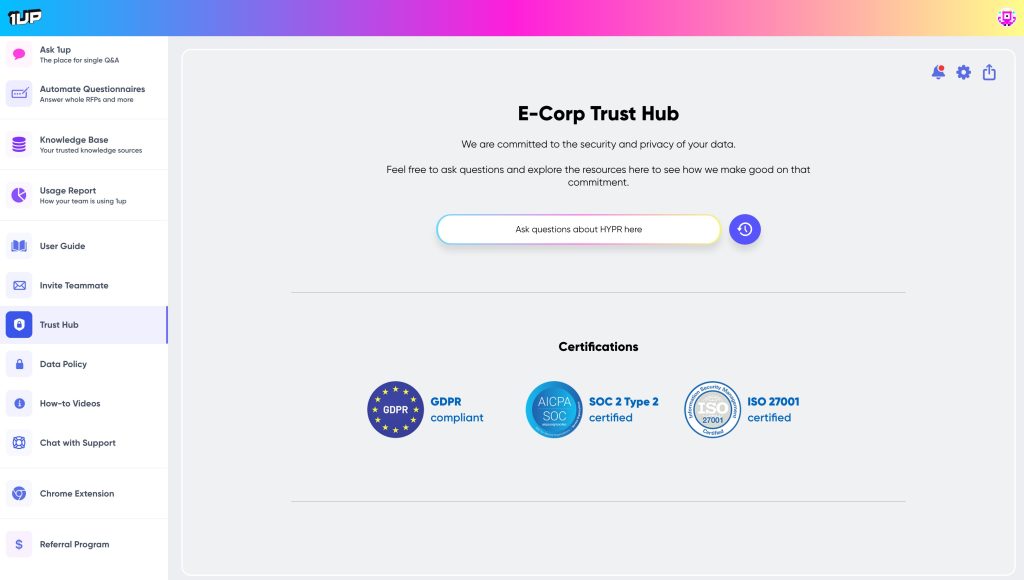
Navigate to Trust Hub from the left-hand menu in the 1up web app.


Click the Settings icon in the upper-right corner.


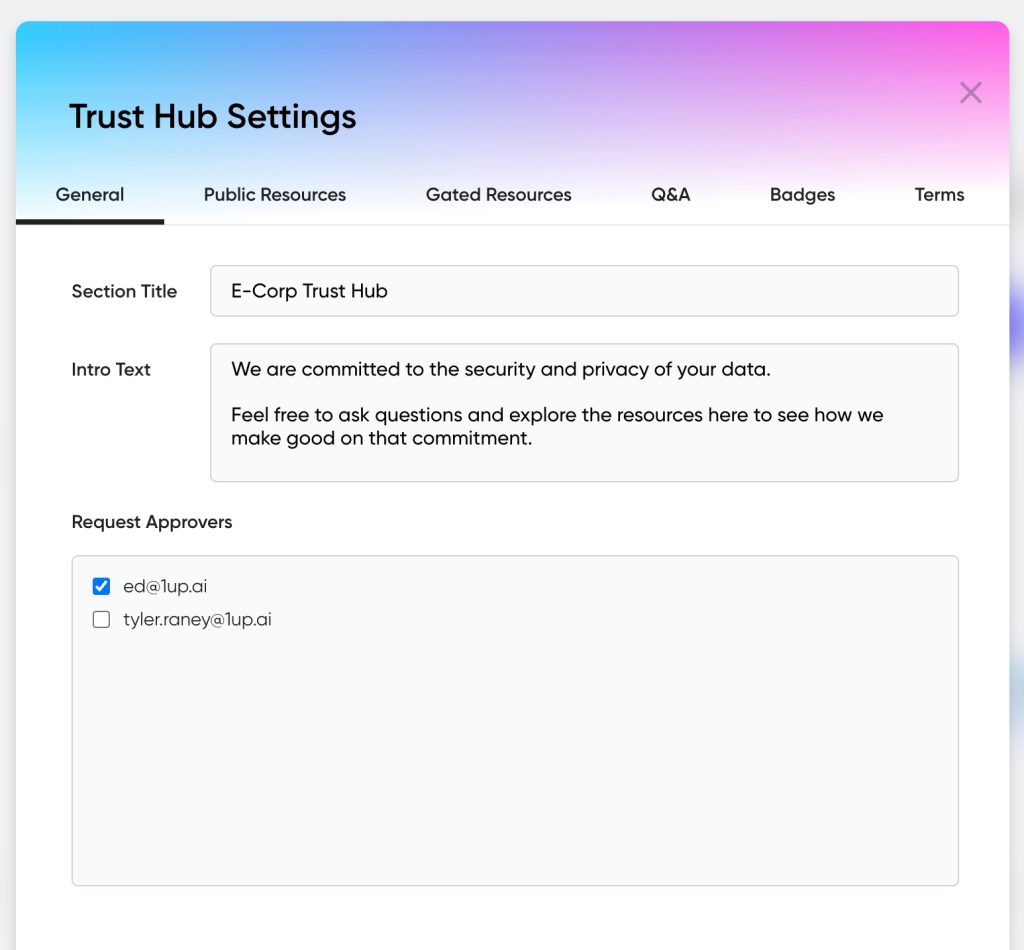
Under the General tab:

  • Add section titles and intro descriptions to customize the structure and tone of your hub.
  • Set your Request Approver - the user(s) who will review and approve access requests from visitors to gated content.

Add Public & Gated Resources

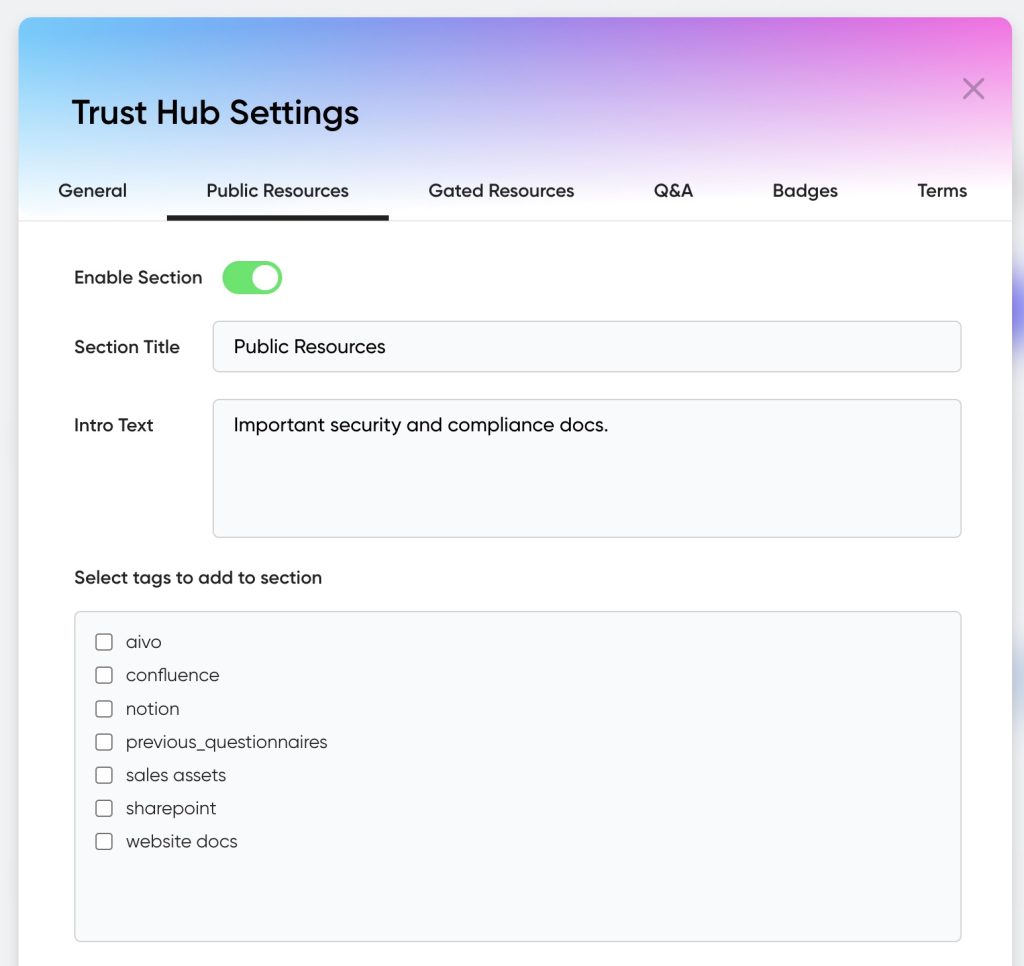
Go to the Public Resources tab to add content that's freely available without approval.


Toggle the section on, set a title, and assign tags (e.g., compliance, public) linked to documents in your knowledge base.

Then go to Gated Resources to add content that requires approval before access.

  • Use different tags (e.g., security, private) for gated files. Tags used in public cannot be reused here.
  • Once configured, visitors can view public content and request gated content access through a simple approval flow.

Trust Hub will only use Knowledge Base sources you explicitly select.

sticky-icon

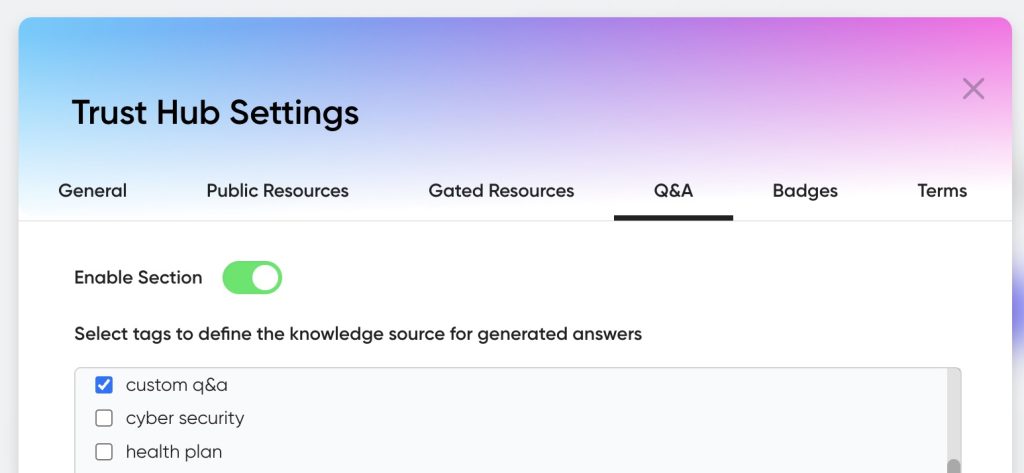
Enable Q&A

In the Q&A tab, enable real-time question-answering for site visitors.


Choose which tagged documents the AI can search to generate instant, accurate answers from your knowledge base.


You can select specific tagged documents 1up can use to generate answers.

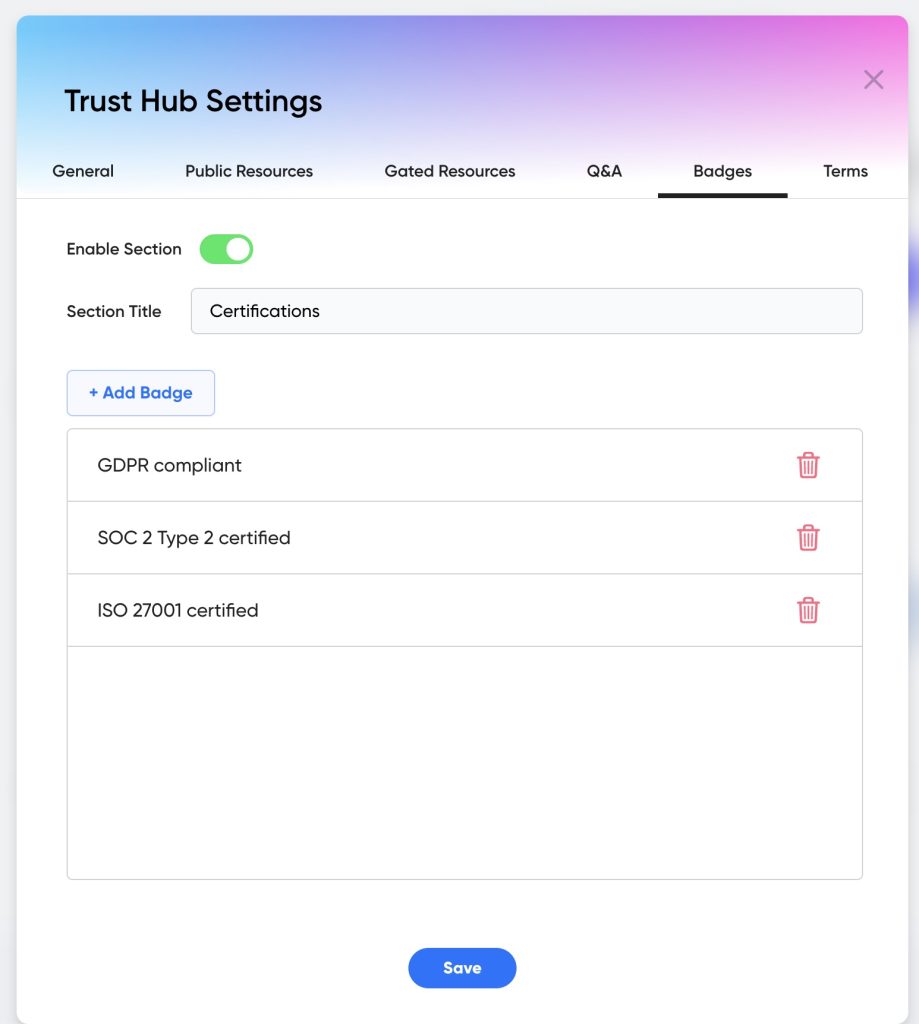
Add Badges and Certifications

In the Badges tab, showcase key certifications (e.g., SOC 2, ISO 27001, FedRAMP) by selecting from built-in options to build trust with prospects.


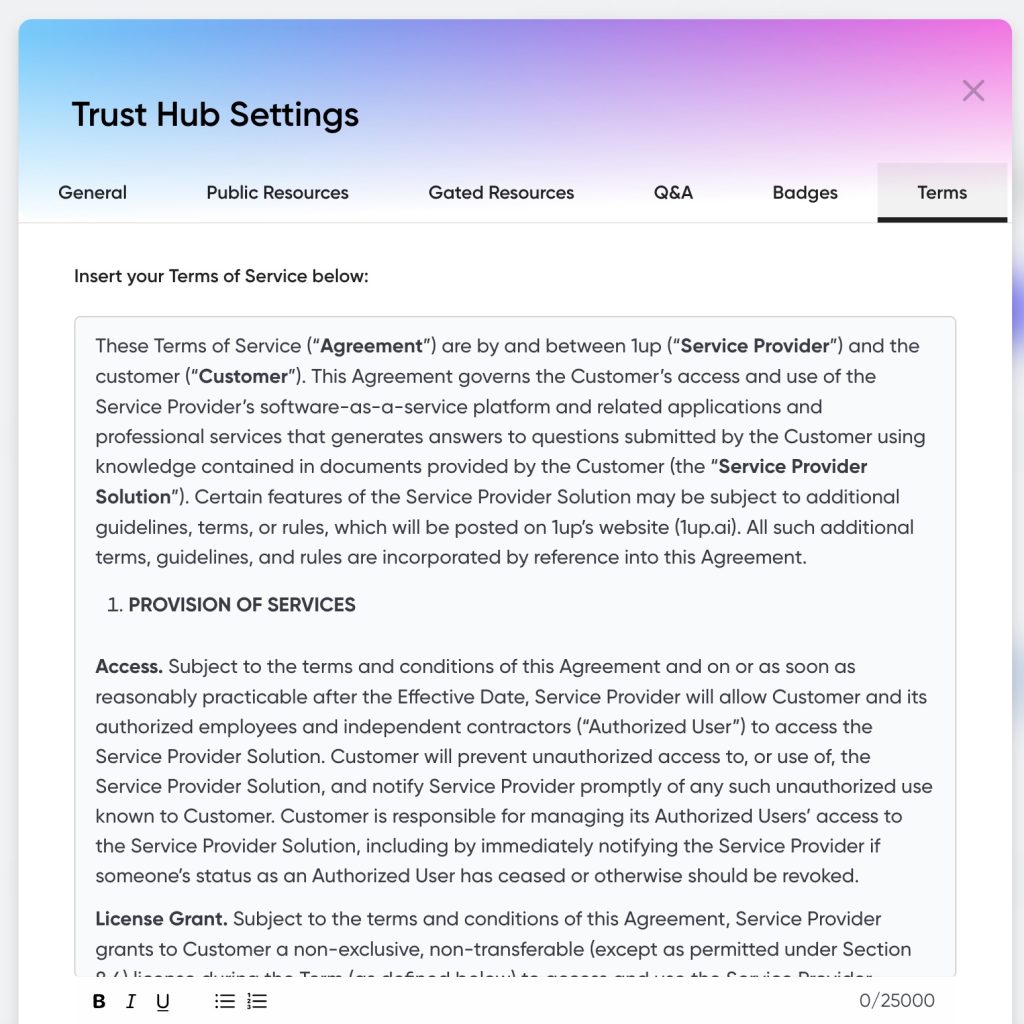
Add Terms of Service

Under the Terms tab, paste in your Terms of Service.

  • The terms appear in the request modal and must be checked off before gated content is unlocked.
  • Visitors must agree to these terms before requesting access to gated content.

Share Your Hub

Click the Share icon in the top-right to copy your Trust Hub’s public URL and share it with customers and prospects.